
Enabling an SSL Certificate on Switchweb
In the digital age, securing your website with an SSL (Secure Sockets Layer) certificate is no longer optional; it’s a necessity. SSL certificates encrypt the data exchange between your website and its visitors, ensuring their privacy and security. For website owners hosting their sites on Switchweb, one of the leading web hosting providers, enabling an SSL certificate is straightforward. This article provides a comprehensive guide on how to secure your website with an SSL certificate on Switchweb.
Understanding SSL Certificates
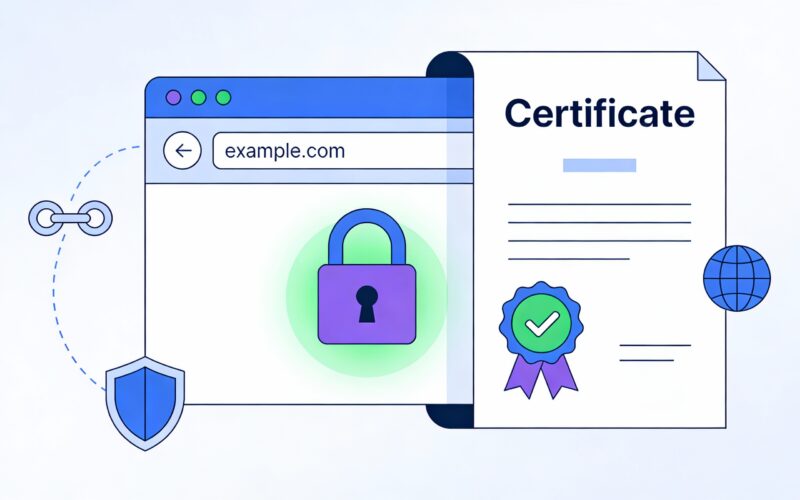
Before diving into the “how,” let’s quickly understand what an SSL certificate does. An SSL certificate is a digital certificate that authenticates a website’s identity and enables an encrypted connection. It’s easily identifiable by the “https” in your website’s URL, with the “s” standing for “secure.” Websites without an SSL certificate are marked as “Not Secure” by web browsers, which can deter visitors and harm your site’s credibility.
Why Choose Switchweb for SSL?
Switchweb makes it incredibly easy to enable SSL certificates for your website. They offer free SSL certificates powered by Let’s Encrypt, a widely recognized name in web security. This not only saves you the cost of purchasing a certificate but also simplifies the installation process.
How to Enable an SSL Certificate on Switchweb
Step 1: Log in to Your Switchweb Control Panel
The first step is to log in to your Switchweb account control panel. Once logged in, navigate to the “Manage Hosting” section, where you’ll see a list of your hosted websites.
Step 2: Select Your Website
Choose the website you want to secure with an SSL certificate. Click on it to access the website’s control panel.
Step 3: Find the SSL Option
Inside the website’s control panel, look for the “SSL/TLS” option. This is typically found under the “Security” section. Click on it to proceed.
Step 4: Activate Free SSL
Switchweb uses Let’s Encrypt to provide free SSL certificates. You’ll find an option to “Activate Free SSL.” Clicking this will initiate the process of obtaining and installing the SSL certificate for your website.
Step 5: Verification
Switchweb will now automatically verify your website’s domain ownership. This is a crucial step for the SSL certificate to be issued. The process is automated and will take up to 30 minutes.
Step 6: Installation
Once verification is complete, Switchweb will automatically install the SSL certificate on your website. You don’t need to manually configure anything.
Step 7: SSL Activation
After installation, the SSL certificate will be activated automatically. You can confirm this by accessing your website and checking for the “https” in your website’s URL. You might also want to clear your browser’s cache to see the change immediately.
After Activation
Congratulations! Your website is now secured with an SSL certificate. However, there are a few post-activation tips to keep in mind:
- Redirect HTTP to HTTPS: Ensure all HTTP requests are redirected to HTTPS to maintain a secure connection at all times.
- Update Website Links: If your website contains hardcoded links using HTTP, update them to HTTPS to avoid mixed content warnings.
- Monitor Your SSL Certificate: While Switchweb automatically renews Let’s Encrypt certificates, it’s good practice to periodically check your website’s SSL status.
Securing your website with an SSL certificate on Switchweb is not just about enhancing security; it’s about building trust with your visitors. By following the steps outlined in this guide, you can easily enable an SSL certificate for your website, ensuring a secure and encrypted connection for all your users. Switchweb’s support for free Let’s Encrypt certificates makes this essential security measure accessible to all website owners, reinforcing the provider’s commitment to user safety and data privacy.
Looking to get started on Switchweb? Take a look at our website hosting plans or message us about a free trial.
